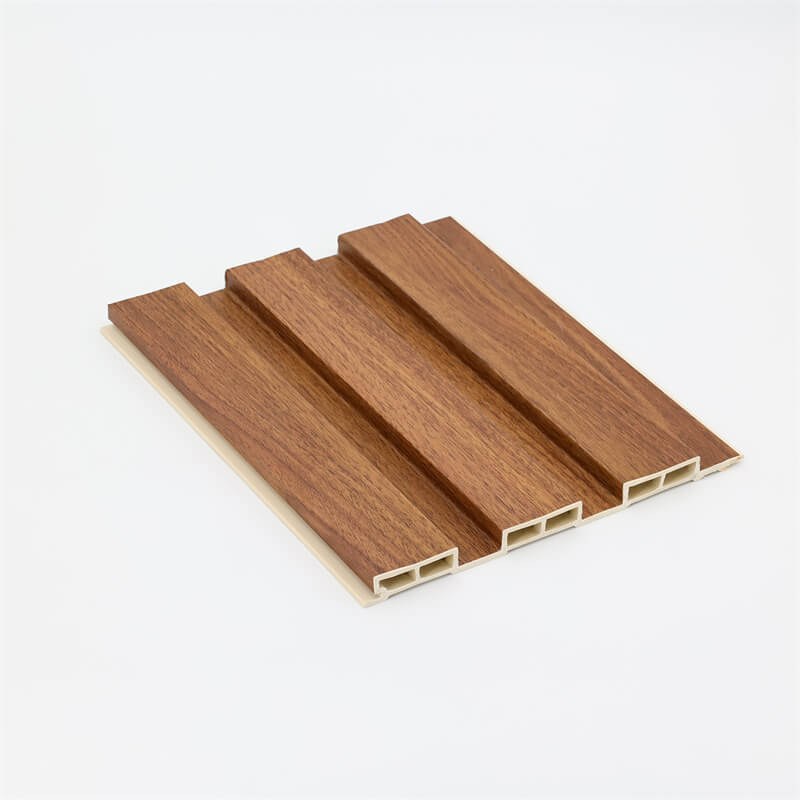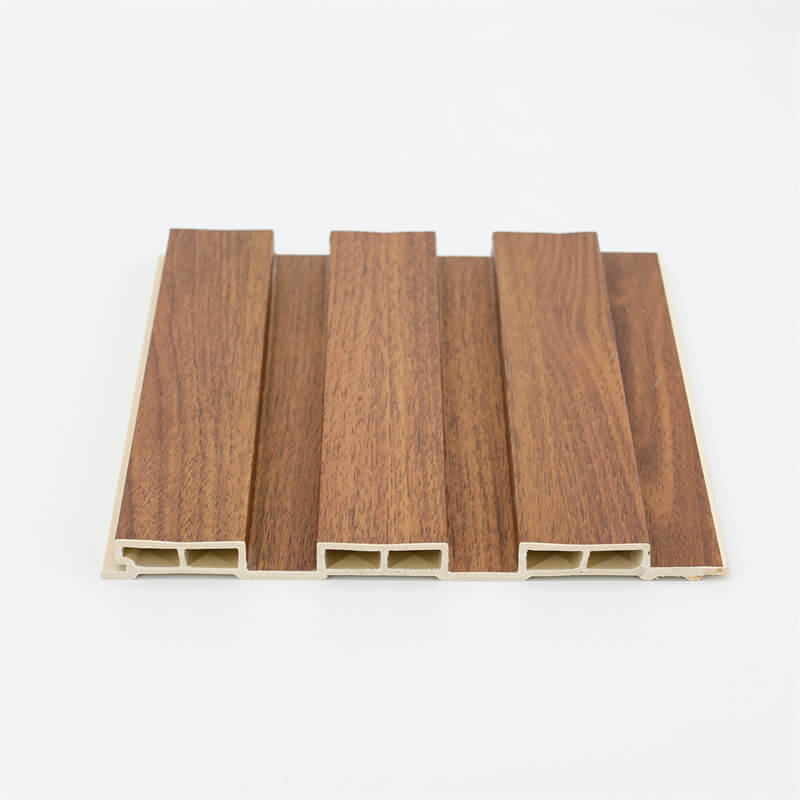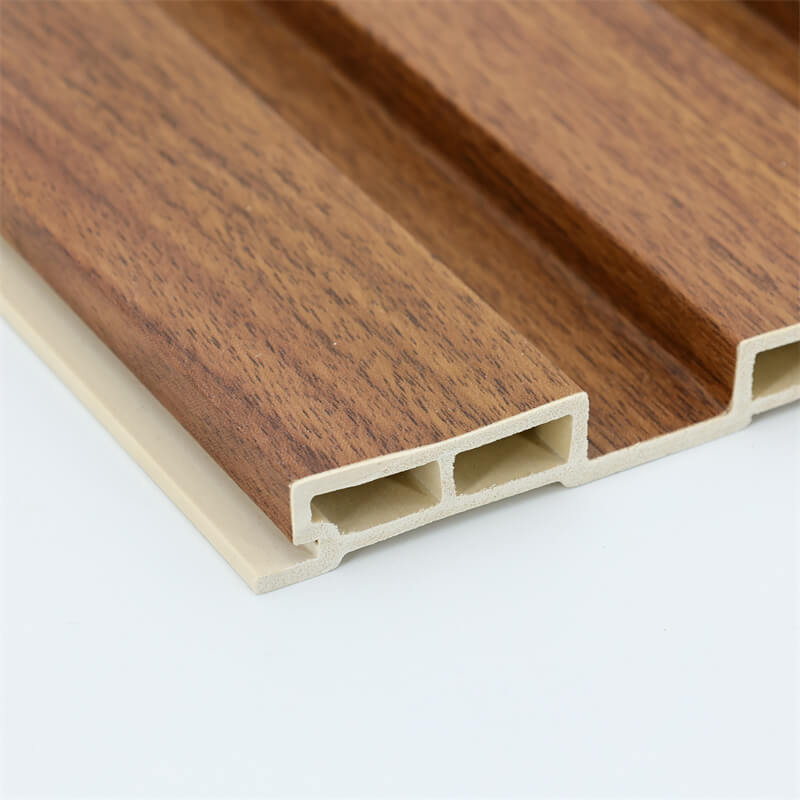
Fluted Wood-Plastic Composite (WPC) panels have gained immense popularity in the construction industry for their durability, versatility, and eco-friendliness.
Architects and builders are increasingly incorporating fluted WPC panels into their projects to achieve stunning and sustainable design outcomes.
However, a successful installation process is crucial to unlock the full potential of these panels.
In this comprehensive guide, we will take you through a step-by-step installation process for fluted WPC panels, ensuring a seamless and long-lasting application.
Pre-Installation Preparation: Gathering the Essentials
Before diving into the installation process, it is essential to gather all the necessary tools and materials to ensure a smooth workflow.
Here’s a checklist of the essentials:
Fluted WPC Panels: Ensure that you have received the fluted WPC panels from a reputable manufacturer or supplier.
Check for any damages or discrepancies in dimensions before starting the installation.
Substrate Preparation: The substrate on which the fluted WPC panels will be installed must be clean, level, and free from any debris.
If required, make any repairs or adjustments to the substrate to provide a stable base for the panels.
Tools: You will need standard woodworking tools such as a circular saw, jigsaw, drill, measuring tape, level, and screws suitable for WPC materials.
Fasteners and Adhesives: Depending on the installation method, ensure that you have the appropriate fasteners (screws or clips) and adhesives recommended by the manufacturer.
Safety Gear: Wear safety goggles, gloves, and a dust mask to protect yourself during the installation process.

Determining the Layout and Starting Point
Before commencing the installation, carefully plan the layout of the fluted WPC panels.
Consider the orientation of the flutes and the desired pattern, especially if the panels have a directional design.
Mark the starting point and ensure that the first panel is positioned correctly to establish a straight and level reference line.
It is advisable to start the installation from the top and work your way down, particularly for vertical applications like wall cladding.
This way, any potential gaps or adjustments can be made at the bottom, which is less noticeable.
Attaching the Fluted WPC Panels: Two Common Methods
Direct Screw Fixing Method:
Predrill Holes – Pre-drill holes through the flutes of the panel using an appropriately sized drill bit.
This prevents the panels from splitting during installation.
Secure the Panels – Position the first panel on the substrate along the reference line and use screws to fasten it securely.
Place screws at regular intervals, ensuring that they are aligned with the pre-drilled holes.
Continue Installation – Place the subsequent panels adjacent to the first panel, ensuring a uniform gap between the panels for expansion.
Fasten each panel securely using the same screwing method.
Final Adjustments – Make any necessary adjustments to ensure the panels are level and aligned correctly.
Use a level and measuring tape to verify the accuracy of the installation.
Install Starter Clips – Install starter clips along the reference line at regular intervals, ensuring they are level and securely fixed to the substrate.
Attach Fluted WPC Panels – Slide the fluted WPC panels into the starter clips, securing them in place.
The clips will be hidden within the flutes, providing a clean and seamless appearance.
Continue Installation – Slide the subsequent panels into the previous ones using hidden clips.
Ensure that the panels are evenly spaced for expansion and contraction.
Final Checks – Verify the alignment and levelness of the panels, making any necessary adjustments before proceeding further.

Finishing Touches and Maintenance
Trimming and Edging: Once all the fluted WPC panels are installed, trim any excess material or overhangs for a neat and finished look.
Use appropriate edging or trims to cover the panel edges for added protection and aesthetics.
Expansion Gaps: Remember to leave sufficient expansion gaps between panels and at the edges to accommodate the material’s natural expansion and contraction due to temperature changes.
Maintenance: Fluted WPC panels are relatively low-maintenance, requiring periodic cleaning to remove dirt and debris.
Use mild soap and water to clean the panels and avoid harsh chemicals that may damage the surface.
Regular Inspection: Conduct regular inspections to ensure that the fluted WPC panels remain secure and in good condition.
Address any issues or damages promptly to maintain the longevity of the installation.
Proper installation is essential to fully capitalize on the benefits of fluted WPC panels in building construction.
By following this step-by-step guide, architects and builders can confidently incorporate fluted WPC panels into their projects, creating aesthetically pleasing and sustainable spaces.
Whether utilizing direct screw fixing or hidden clip fixing methods, the key is to plan the layout carefully, ensuring a straight and level installation from the start.
With the right tools, materials, and attention to detail, the installation of fluted WPC panels can be a seamless and rewarding process, resulting in safe and visually appealing spaces for years to come.
